
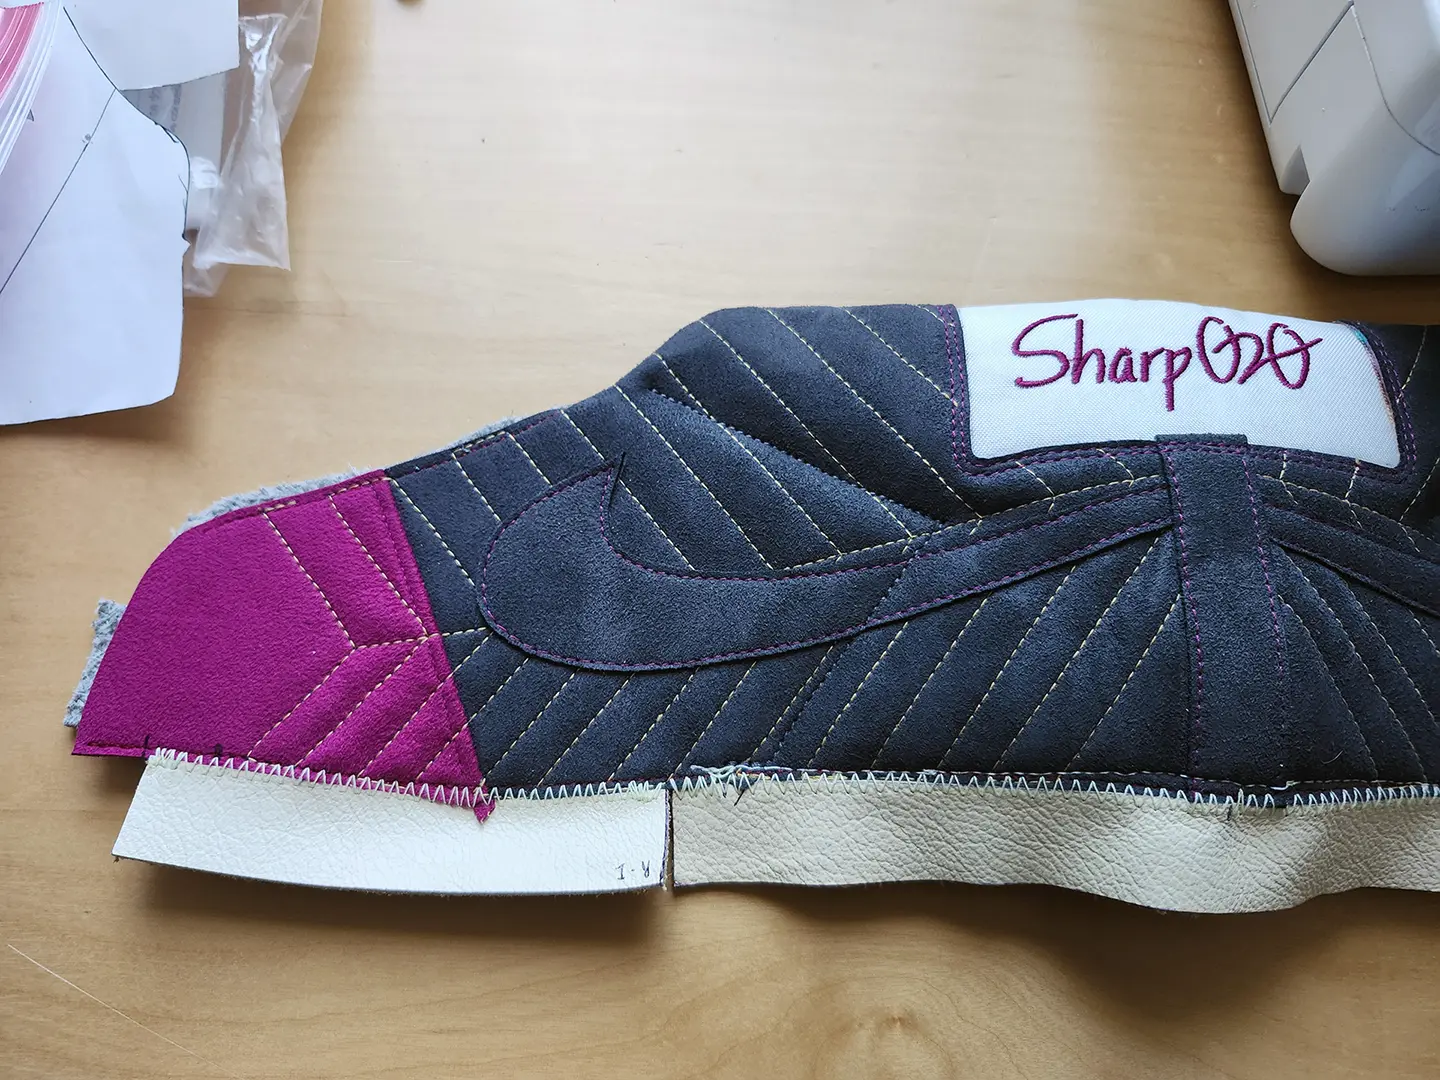
I’ve been working on these shoes actively for the past few weeks. They are the first blazers I have created using a full cast. My previous ones had a half cast (for the toe), and for the last one, I ended up using a cast of a different shoe entirely. So far I’ve run into two problems that have delayed me a tiny bit.
The first one was that I had made the top embroidered heel panel too thin, and when I applied some glue, it seeped through and became visible on the top side.
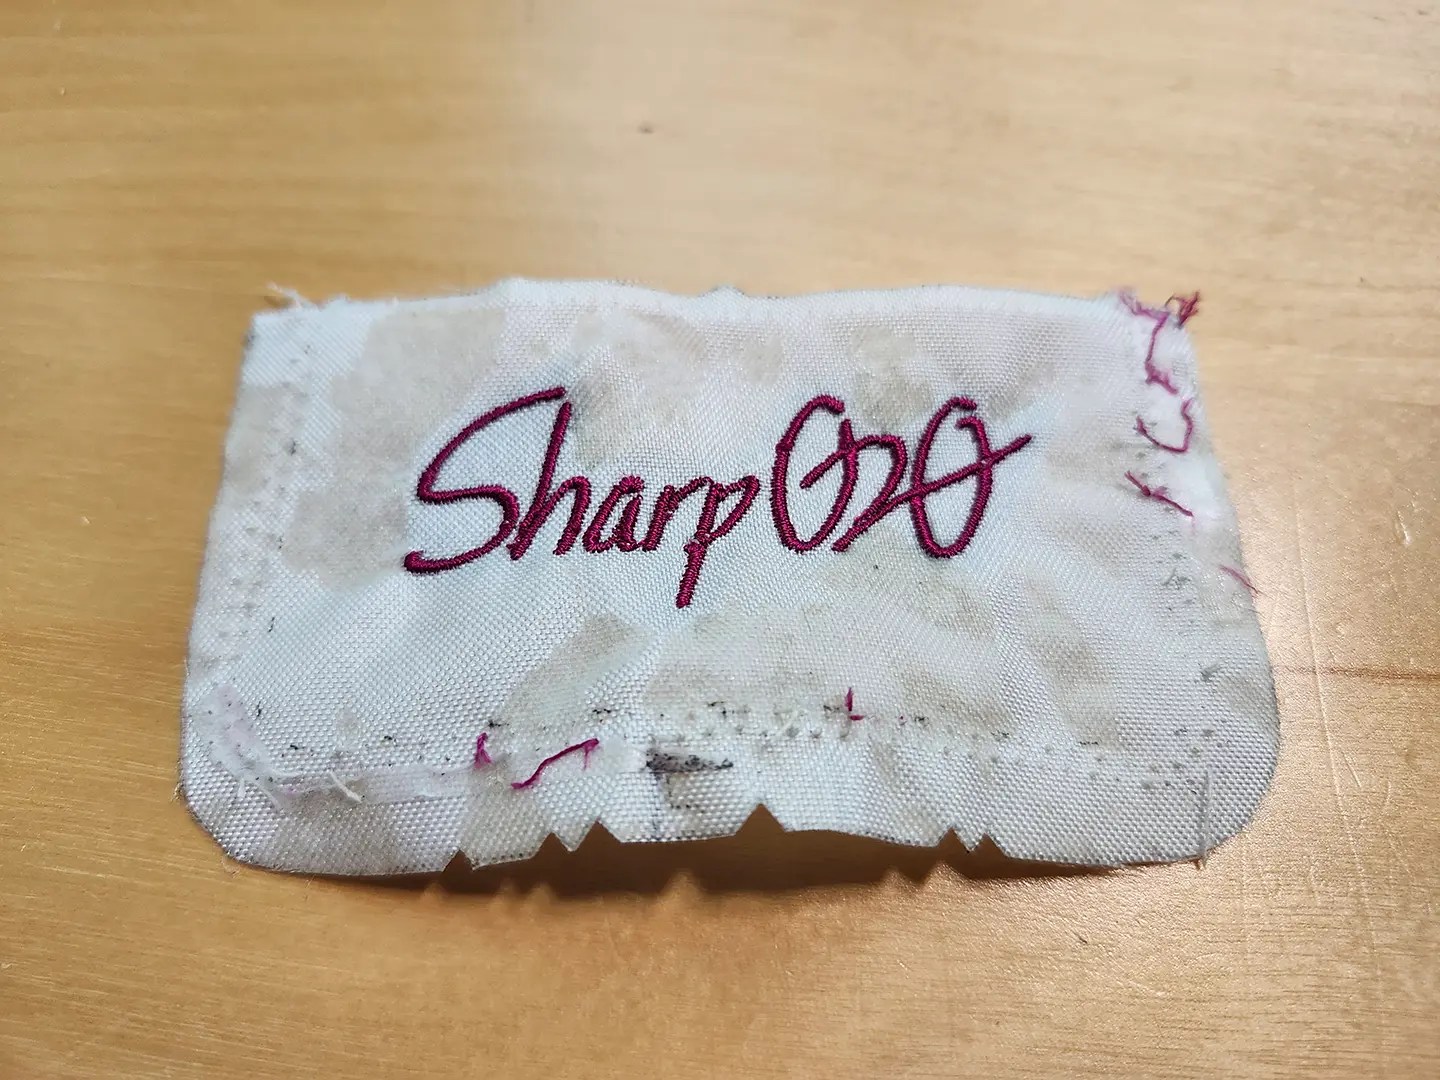
After taking the uppers apart, I ended up remaking those pieces. It turned out to be a blessing in disguise because I was able to experiment with my embroidery machine and find better settings. I use Hatch 3, which generally has a compensation prefix between 0.008″ & 0.016″; because of this mistake, I was able to find a middle ground of 0.012″, which made it uniform throughout. Then I used double-sided interfacing to glue the embroidered piece to 1/4″ headliner foam. This led me to the second improvement. Stitching on top of the edge instead of cutting it, and then cutting above the thread. This made the seam stronger since it dramatically decreases the chances of the fabric fraying at the seam of the liner.
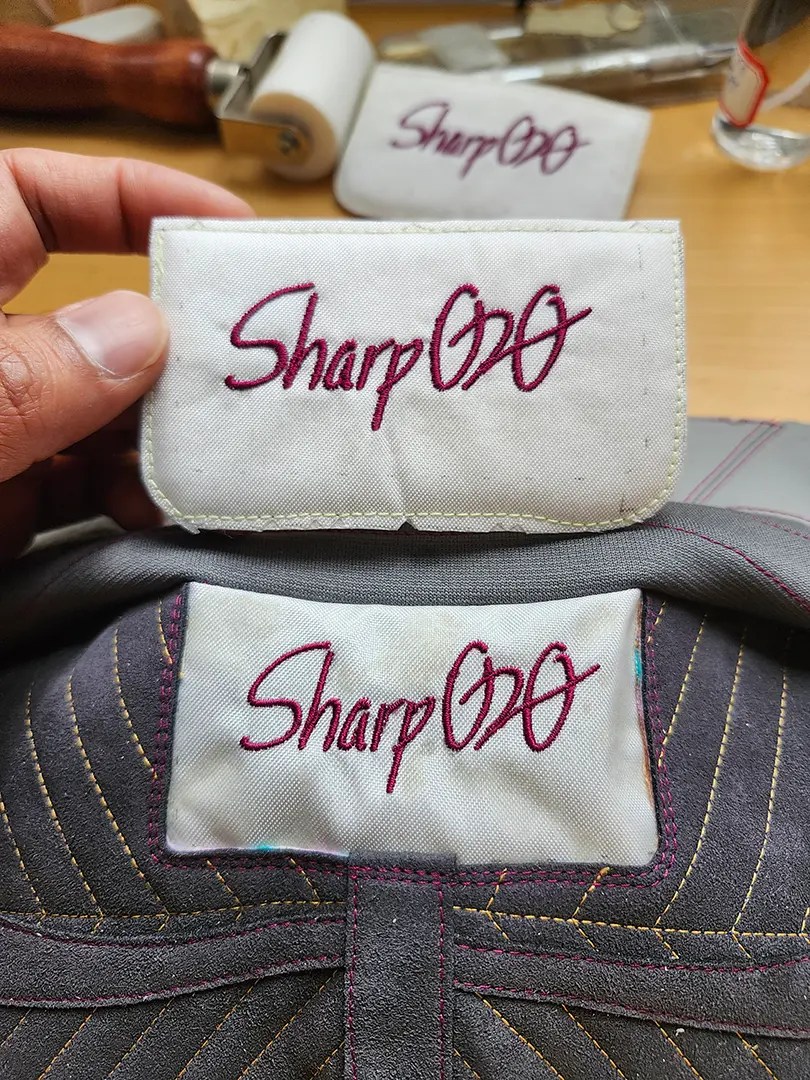
The second problem I ran into was stitching the liner onto the upper. I’ve been trying to make my new liners have the least amount of exposed leather/fabric edges. Ideally, without lapped seams.
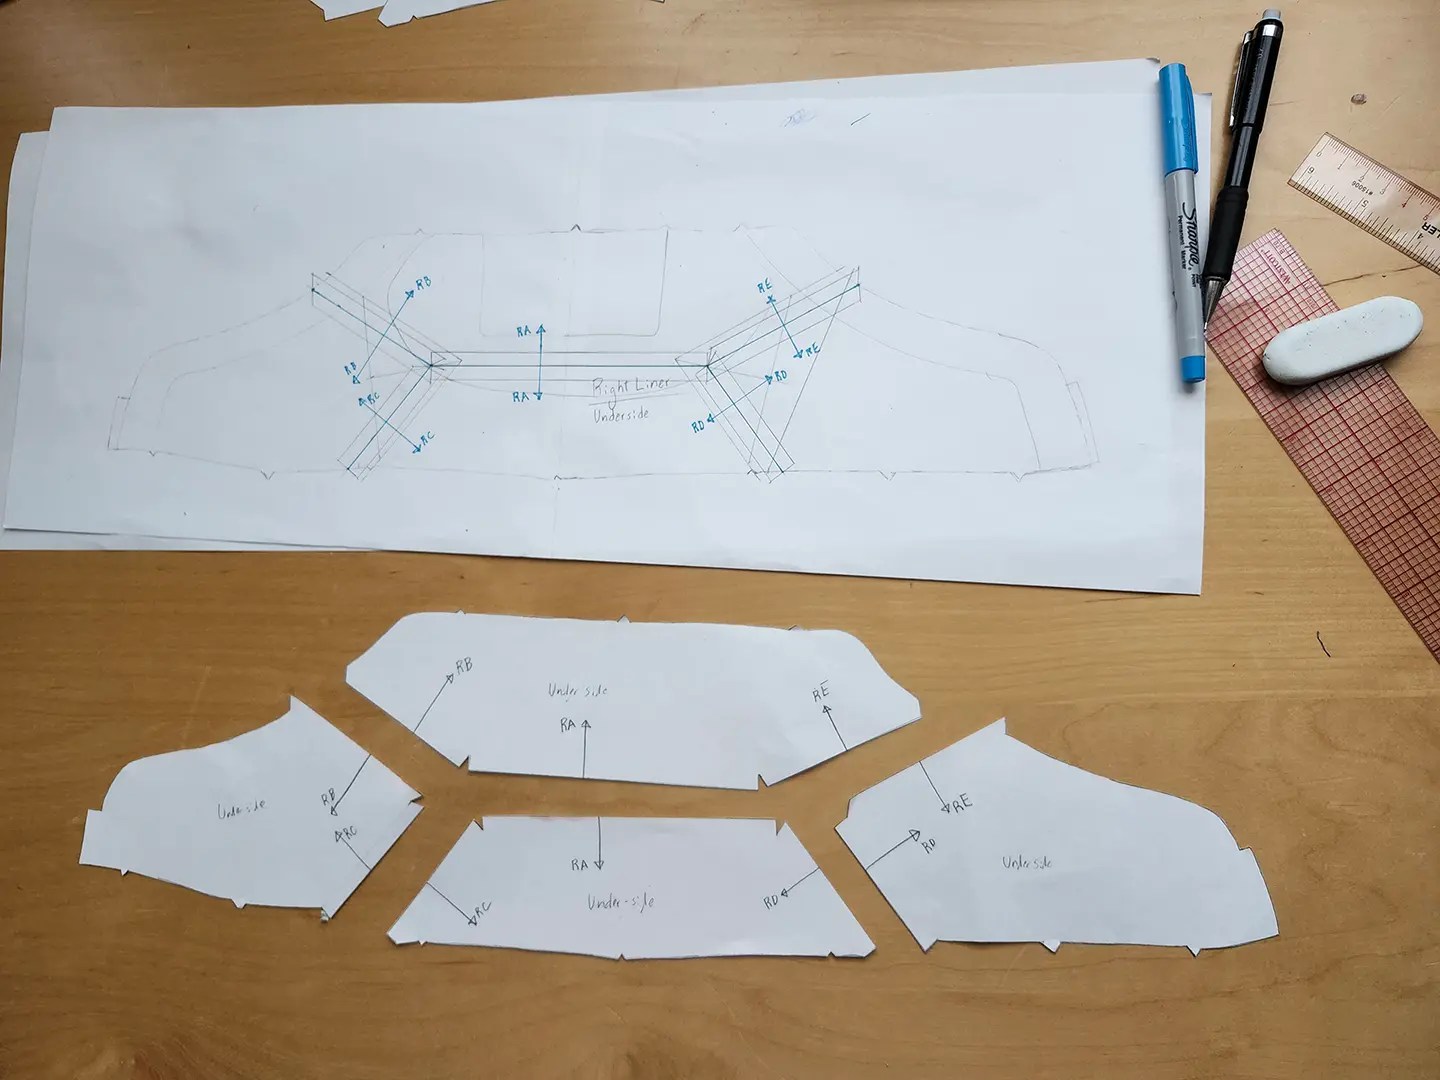
Since I’m working with leathers, the seams I’m joining have gotten thick due to folded leather. These parts were starting to become problematic for my sewing machine since it was stitching on top of 5 layers of different fabrics, leathers, and foam. On top of all that, I also had adhesive tape on some of those parts. All this led to “thread nests”; my Janome heavy-duty couldn’t handle it, so I switched over to my Brother PQ 1500.
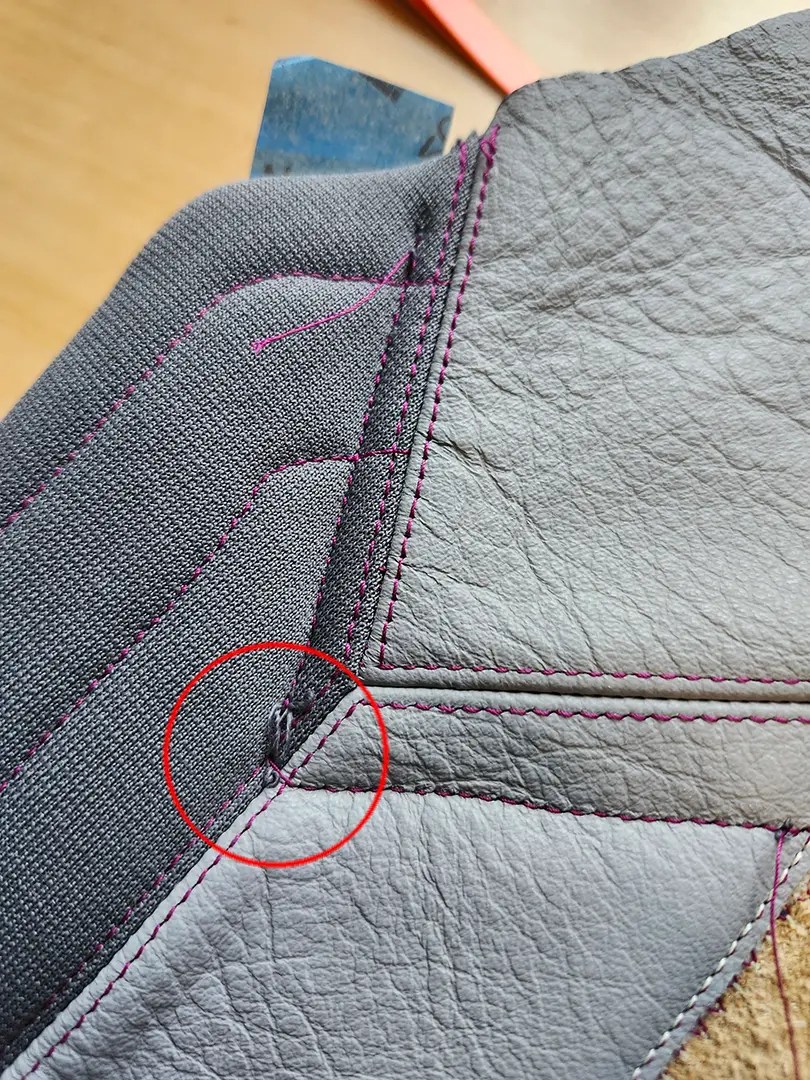
I realized that with my Janome, the fabrics were so thick that it was disengaging the tension of the presser foot, especially at parts that had the adhesive tape. Since it would partially get on the needle, it then pushed the whole construction up along with the needle. It was making the machine believe that I had the presser foot up. The Brother machine didn’t have that problem, but I still needed to use my finger to push down on the presser foot. Problem solved.
Thanks for reading; more updates later!
Leave a Reply